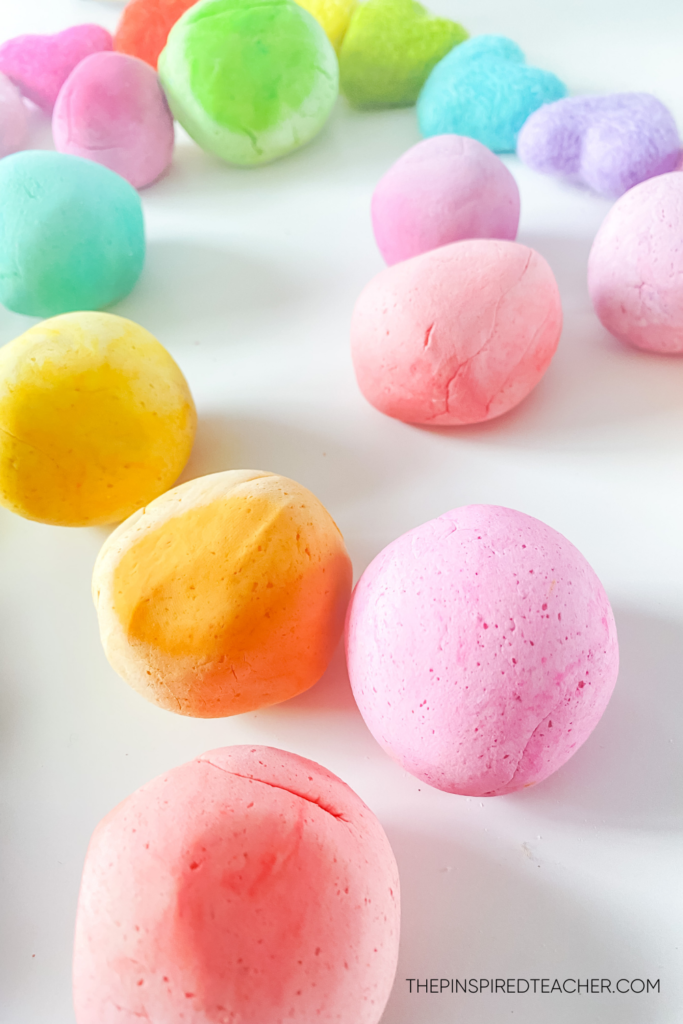
Making playdough is a fun activity for elementary students. I mean really, what kid doesn’t love playdough?! Not only does the playdough keep them entertained, but it also helps teach them about the properties of different materials. In this blog post, I will provide a recipe for no-bake playdough that is taste-safe and easy to make!
WHY YOU NEED A NO-BAKE PLAYDOUGH RECIPE AS A TEACHER
Over the years I’ve come across many best ever playdough recipes, but many required me to have a stove on hand, which I never had easy access to at school, so I quickly realized that having a go-to no-bake playdough recipe is essential if you want to make this playdough WITH your students inside your classroom. This no-bake playdough recipe is so simple to follow and make that your students can help measure out the ingredients!
WHAT YOU NEED TO MAKE YOUR OWN PLaydough
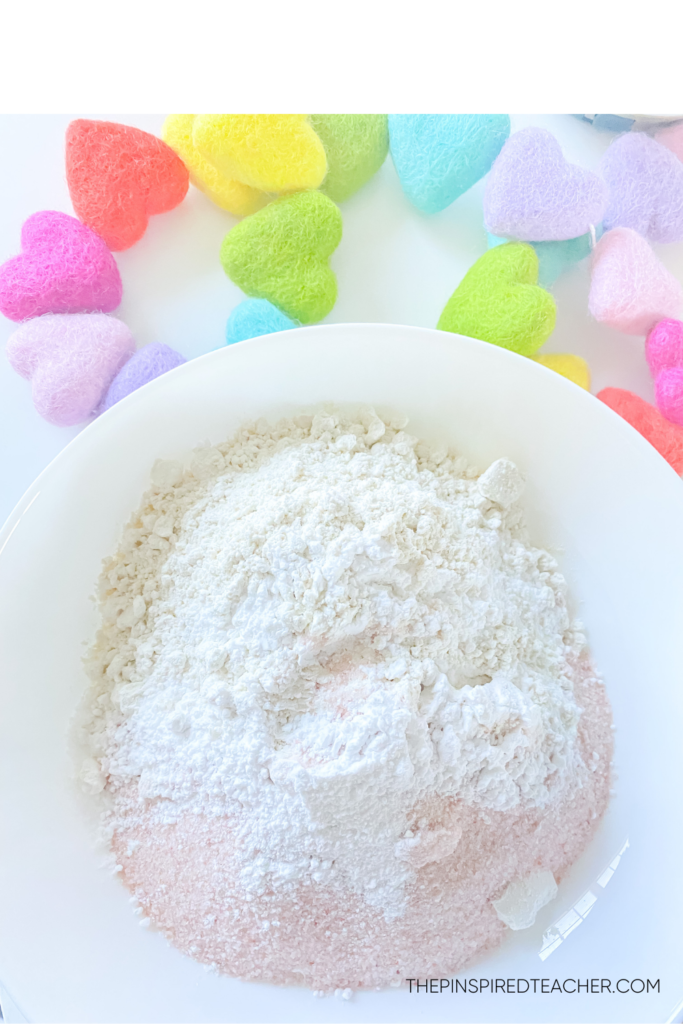
INGREDIENTS
- 2 cups flour
- 1/2 cup salt
- 2 tablespoons cream of tartar
- 2 tablespoons oil (any cooking oil)
- 1 cup hot water
- Food coloring
how to make the playdough in less than 5 minutes
1. Gather all of your dry ingredients and have student helpers pour one dry ingredient into a large bowl, one at a time.
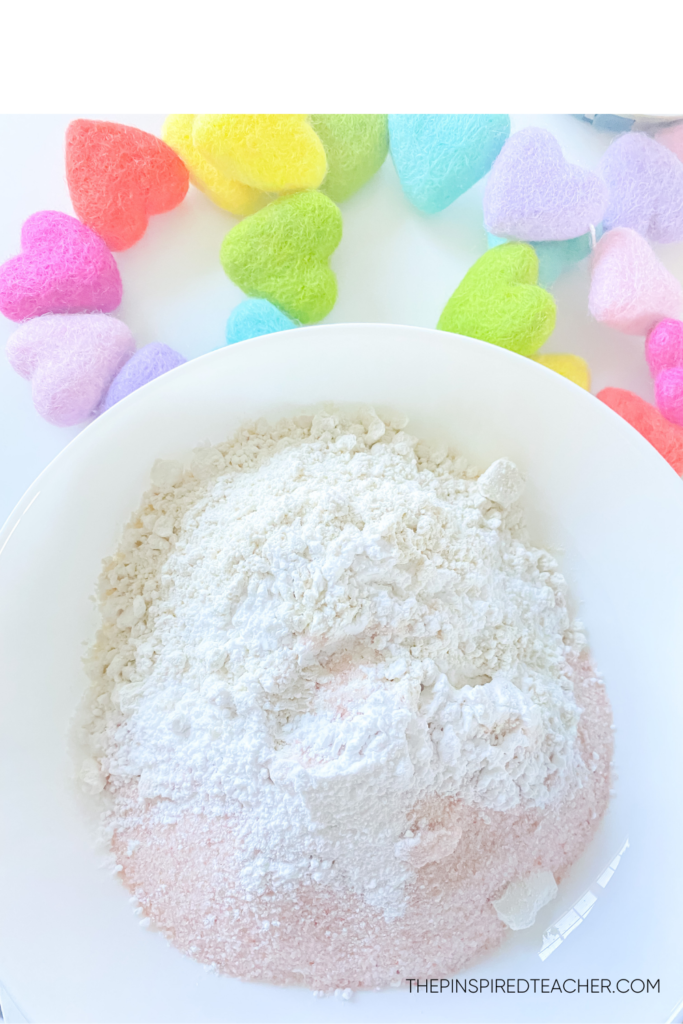
2. Create a valley in the center of the bowl and pour the oil into the center.
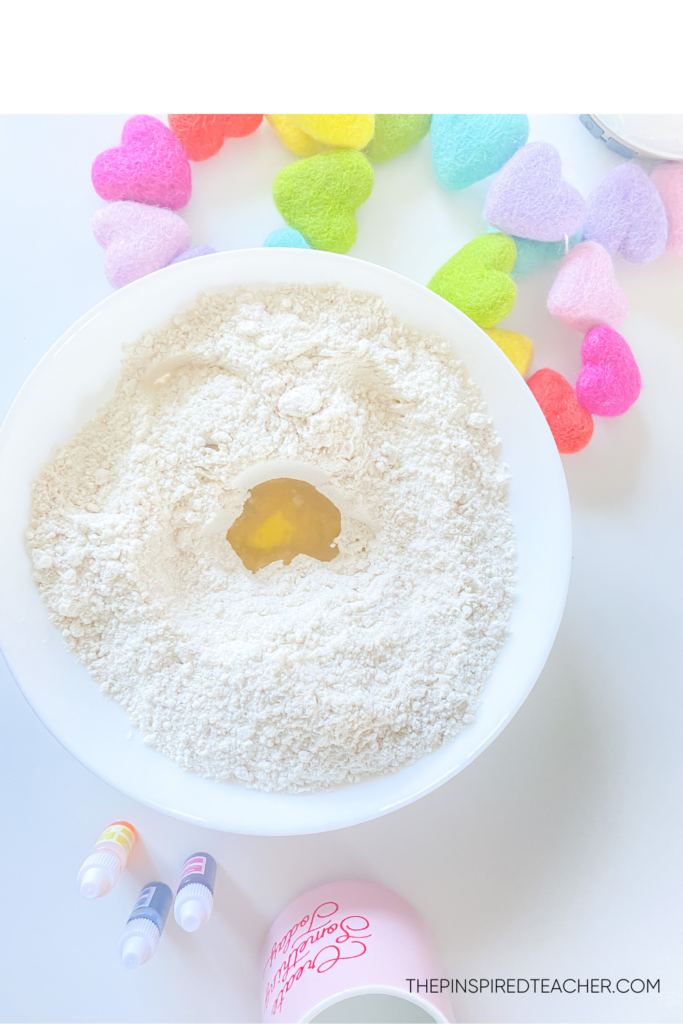
3. Add the hot water.
If you don’t have a microwave in your classroom or quick access to hot water, you can use a thermos to keep the water hot until you and your students are ready to make the playdough. The hotter the better. I made the mistake of warming up my water and letting it sit while gathering my other ingredients and doing the first two steps. Keep the water piping hot as long as possible.
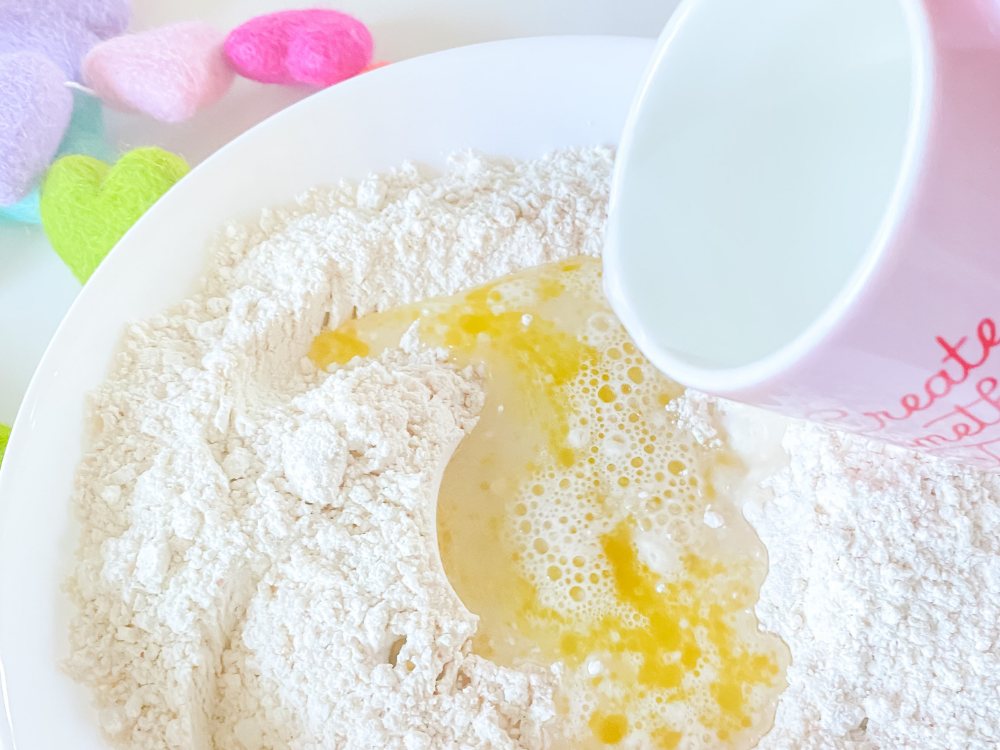
4. Mix and knead until you reach the consistency that feels like doughy soft playdough!
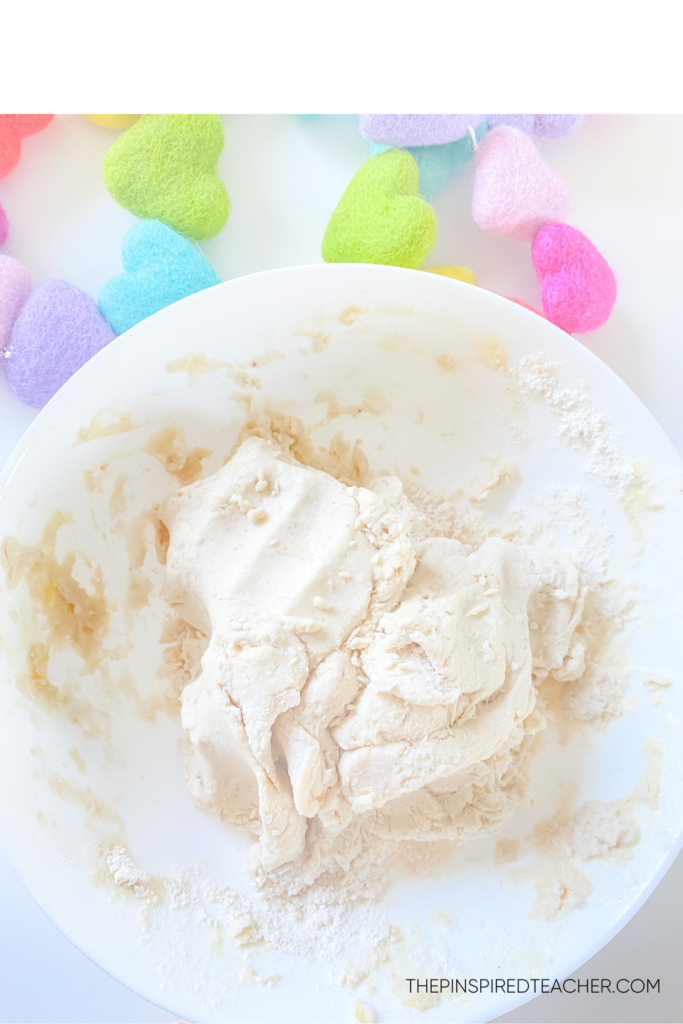
As you mix it together you’ll notice it getting more and more like playdough. I found that to get it super pliable and soft, I needed to knead more (lol). So yes, you need to knead!
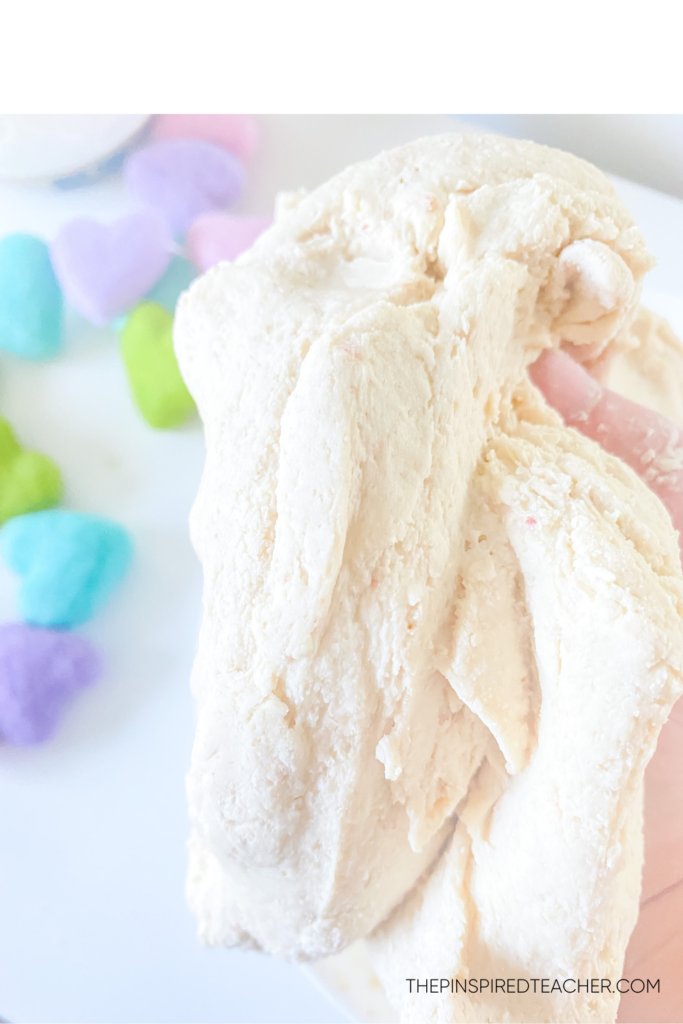
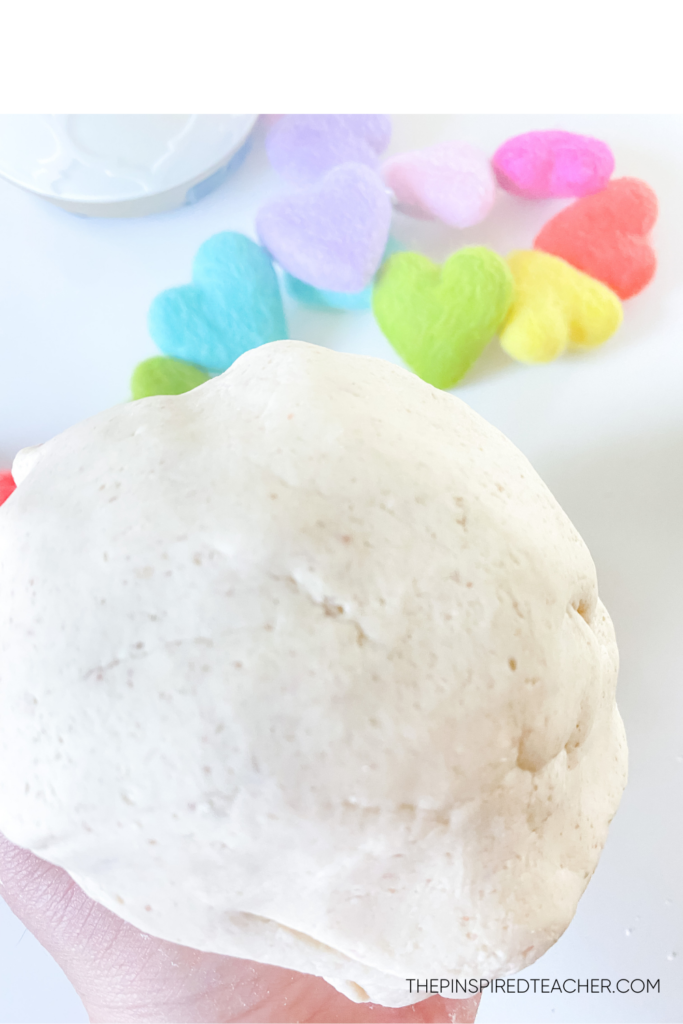
Eventually, it become a big ball of play dough! You can divide the dough up and have each students start kneading if you want to enlist more help from your students while making this simple playdough recipe!
Here’s the final uncolored result:
how to color your playdough
At this point you have playdough, now it’s time to add your choice of food coloring!
1. Decide how many colors you are going to make.
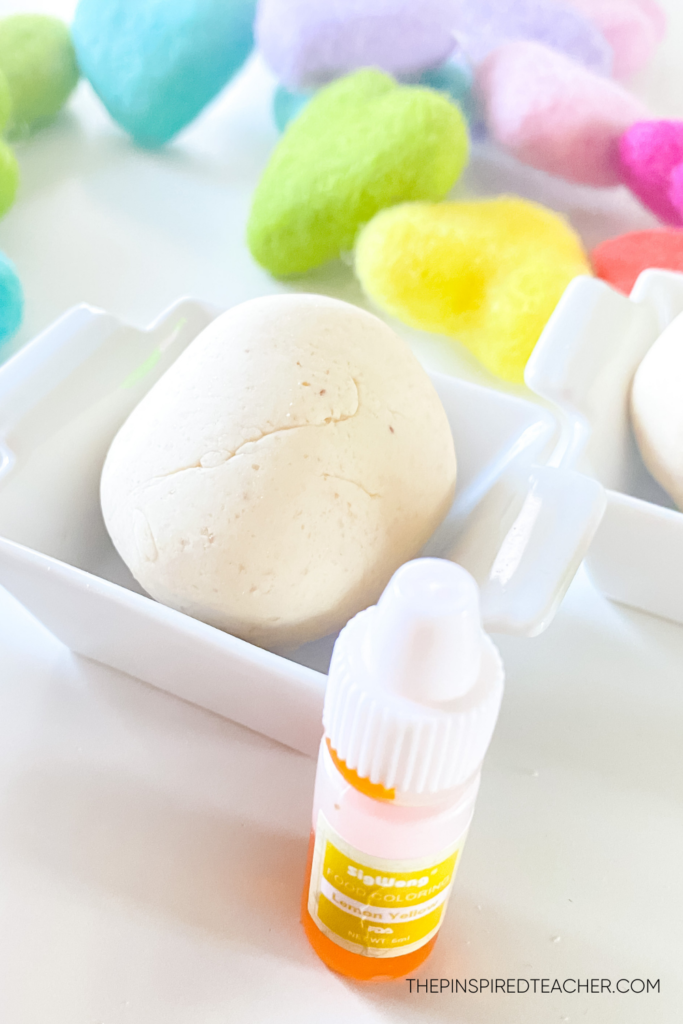
2. For each color, roll your playdough into a ball.
If you are only making one color, add the food coloring with your wet ingredients. But what fun is that, more colors, make more fun! Isn’t that the rule? 🙂
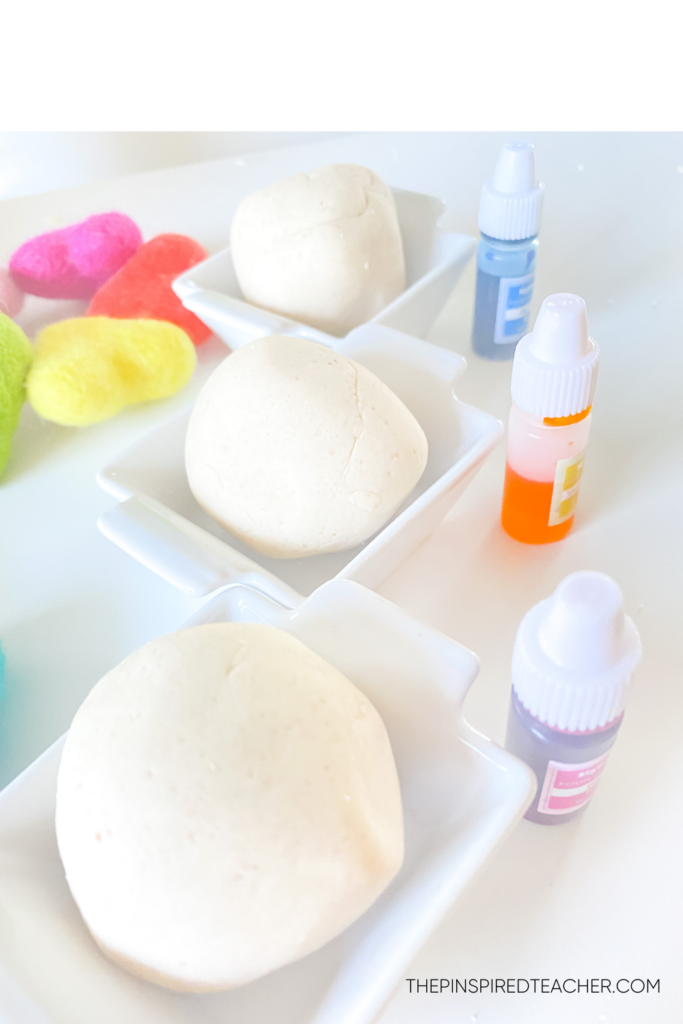
3. Take a pencil or a finger and poke the center to serve as a basin for the food coloring.
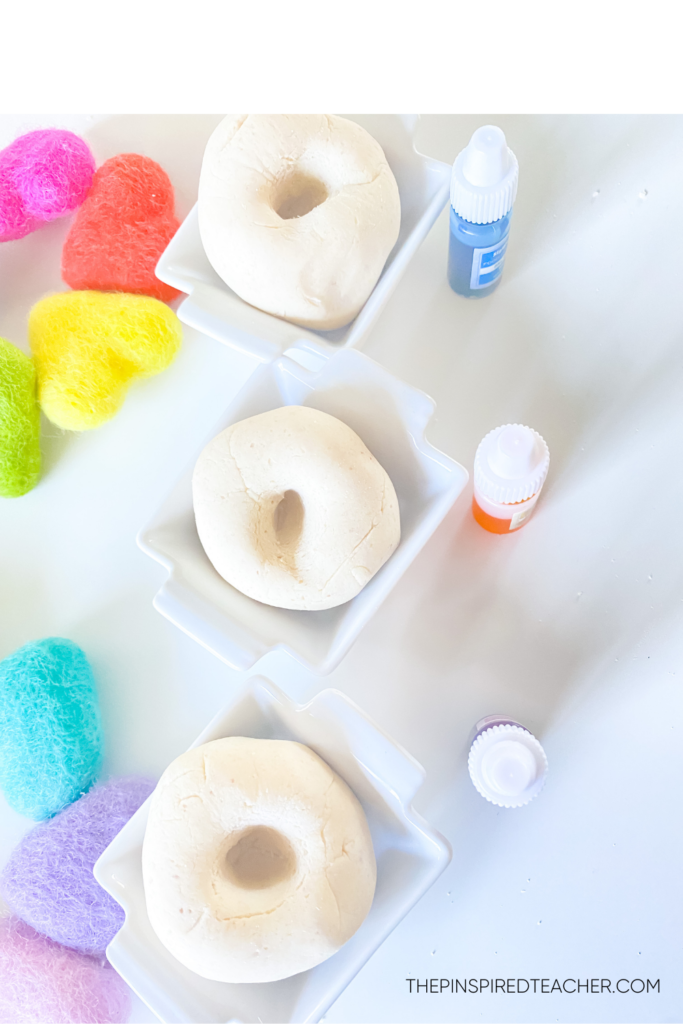
Add a drops of food coloring to the center.
I started with a tiny amount and built up from there. This might be a good time to put gloves on if you don’t want food coloring on your hands. (I learned the hard way after a few washes to get it all off).
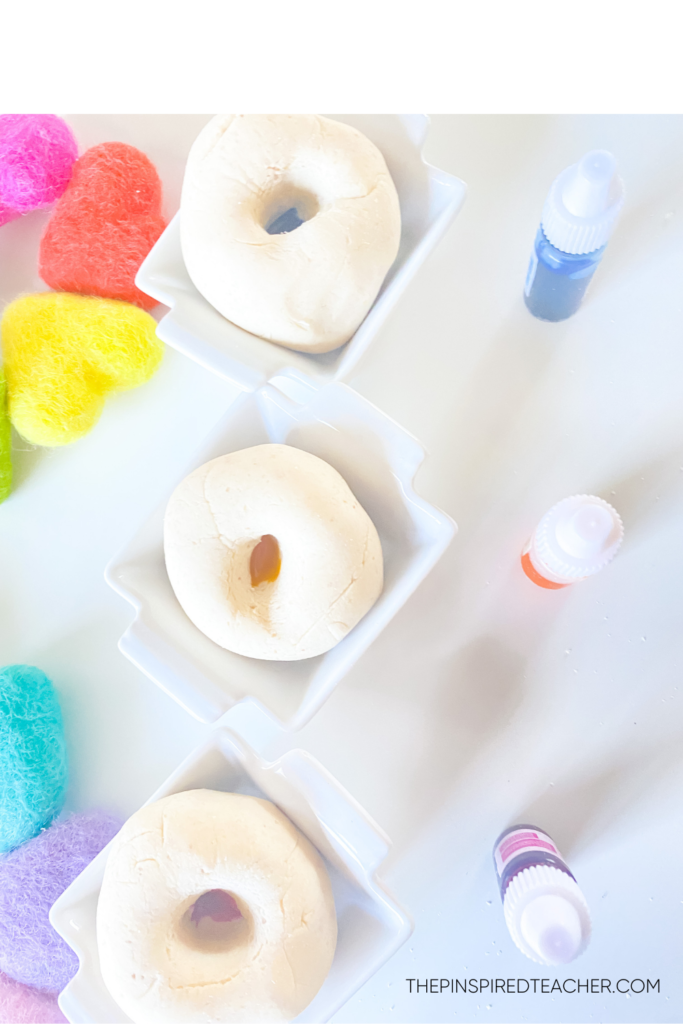
4. Pinch the dough to close the ball up.
The food coloring will now be squished inside to help make this process as mess free as possible.
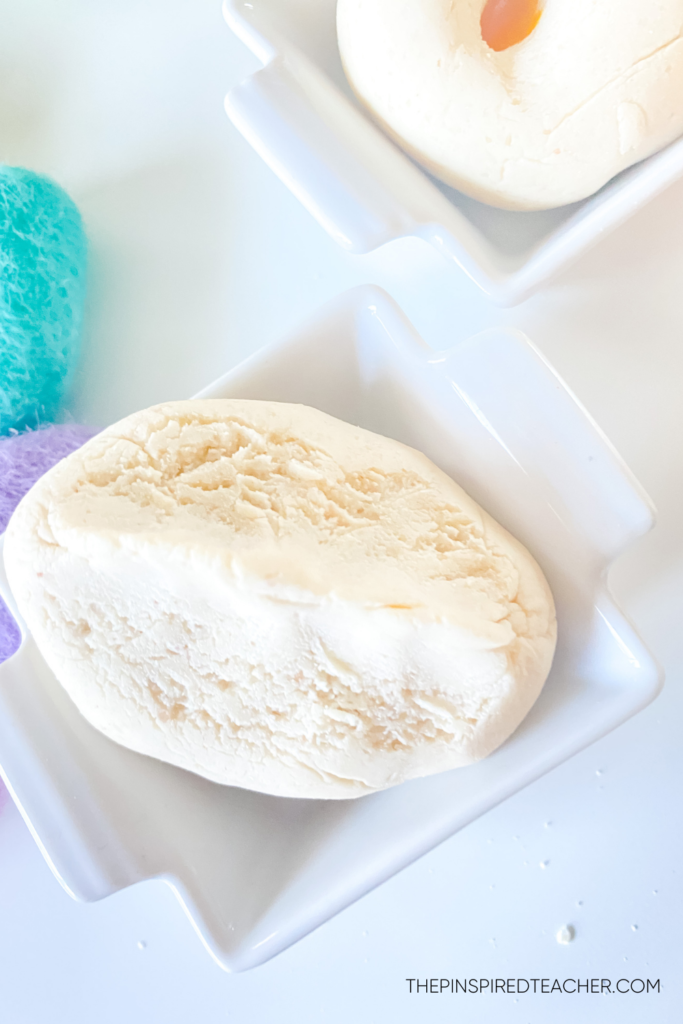
5. Knead the ball of playdough and the color will start to appear.
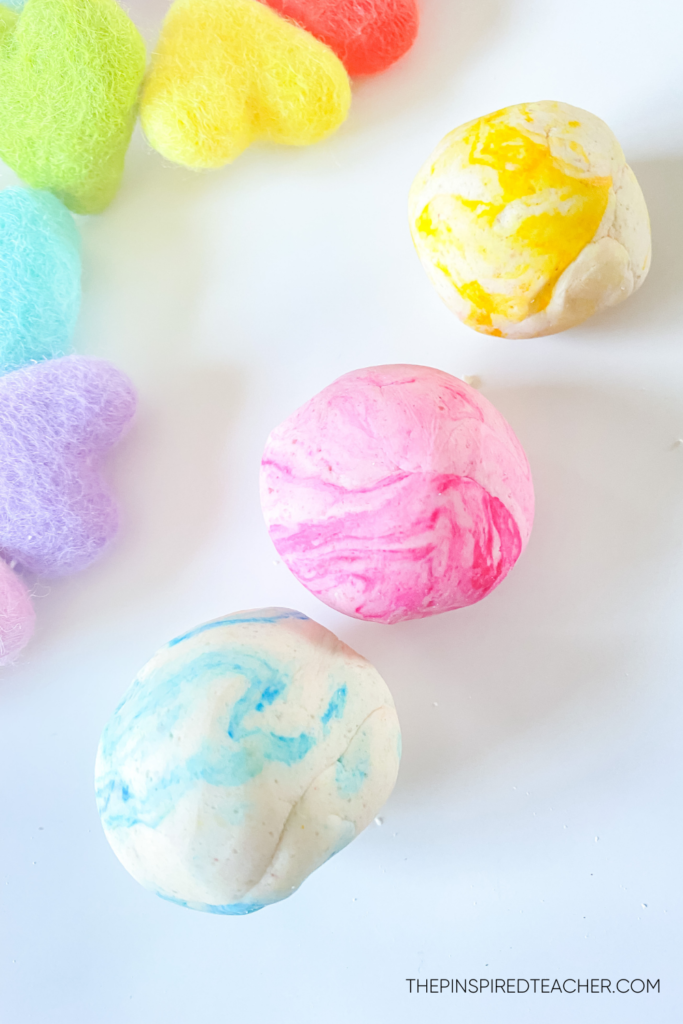
Repeat steps 3-5 if you decide that you want more vibrant playdough colors. I love the marble effect that takes place as you knead, isn’t that cool? I’ve stopped right at the marbled playdough once when making an earth day playdough to represent the blue marble we live on.
Once you are happy with the way your no-bake playdough turned out, hat’s it! Your easy no-bake classroom playdough is good to go and ready to be used as a fun addition to your classroom activities!
Classroom playdough activities
playdough smash mats
Smash mats are fun way to make worksheets more hands-on, interactive, and fun! My favorite smash mat is small group behavior smash mat.
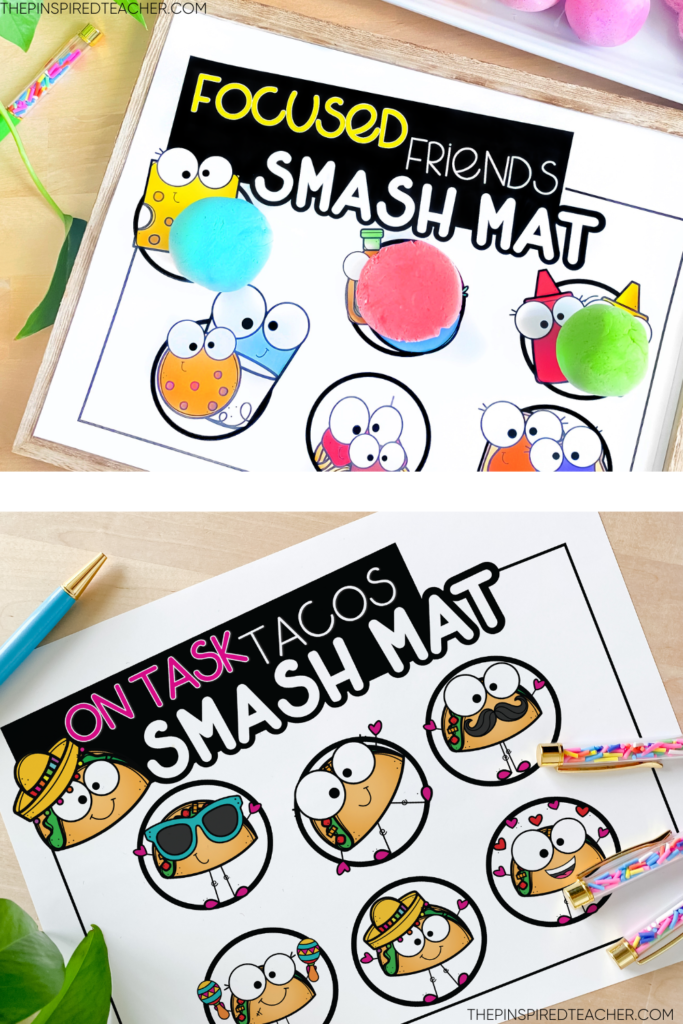
The playdough serves as a game piece after they choose a character and you as the teacher determine what skill you want them to work on (following directions, staying on task, etc.). When you notice they’re working on that skill you reinforce the positive behavior by having them squish their playdough onto the mat. It’s small, but as soon as they see the playdough it serves as a visual reminder of the behavior skill focus.
magic playdough for the first day Of school or meet the teacher night
Repeat all the steps besides squishing it up to reveal the color. Put the plain colored playdough inside a baggie with a poem. It could go something like this:
I hope this school year is filled with fun.
I have some back to school worries and fears.
But all that will go away if a magic color appears!
playdough WORD WORK
Students can use this easy playdough recipe to build their spelling words or sight words! I love making word work hands-on as much as possible because the students’ engagement increases by what feels like 1,000%.
playdough Exit Tickets
Have your students keep a container of the playdough at their table. At the end of a lesson, have them roll their play dough into three balls for a 3-2-1 formative assessments. As they complete each step of the 3-2-1 formative assessment, they will smash the playdough similar to checking off a checklist item.
Playdough Storage
A used coffee container or just a plastic tub with airtight storage works really well for storing this playdough and extending the lifetime of the playdough. A sandwich bag also does the trick, but it may not keep for several months!
Playdough Recipe Variations
If you do have access, then combine the ingredients in a pot.
If you want super vibrant colors, use Kool-Aid mix (per an Instagram follower’s recommendation!)
Do you have any tips? I’d love to include them in this post, just comment below!